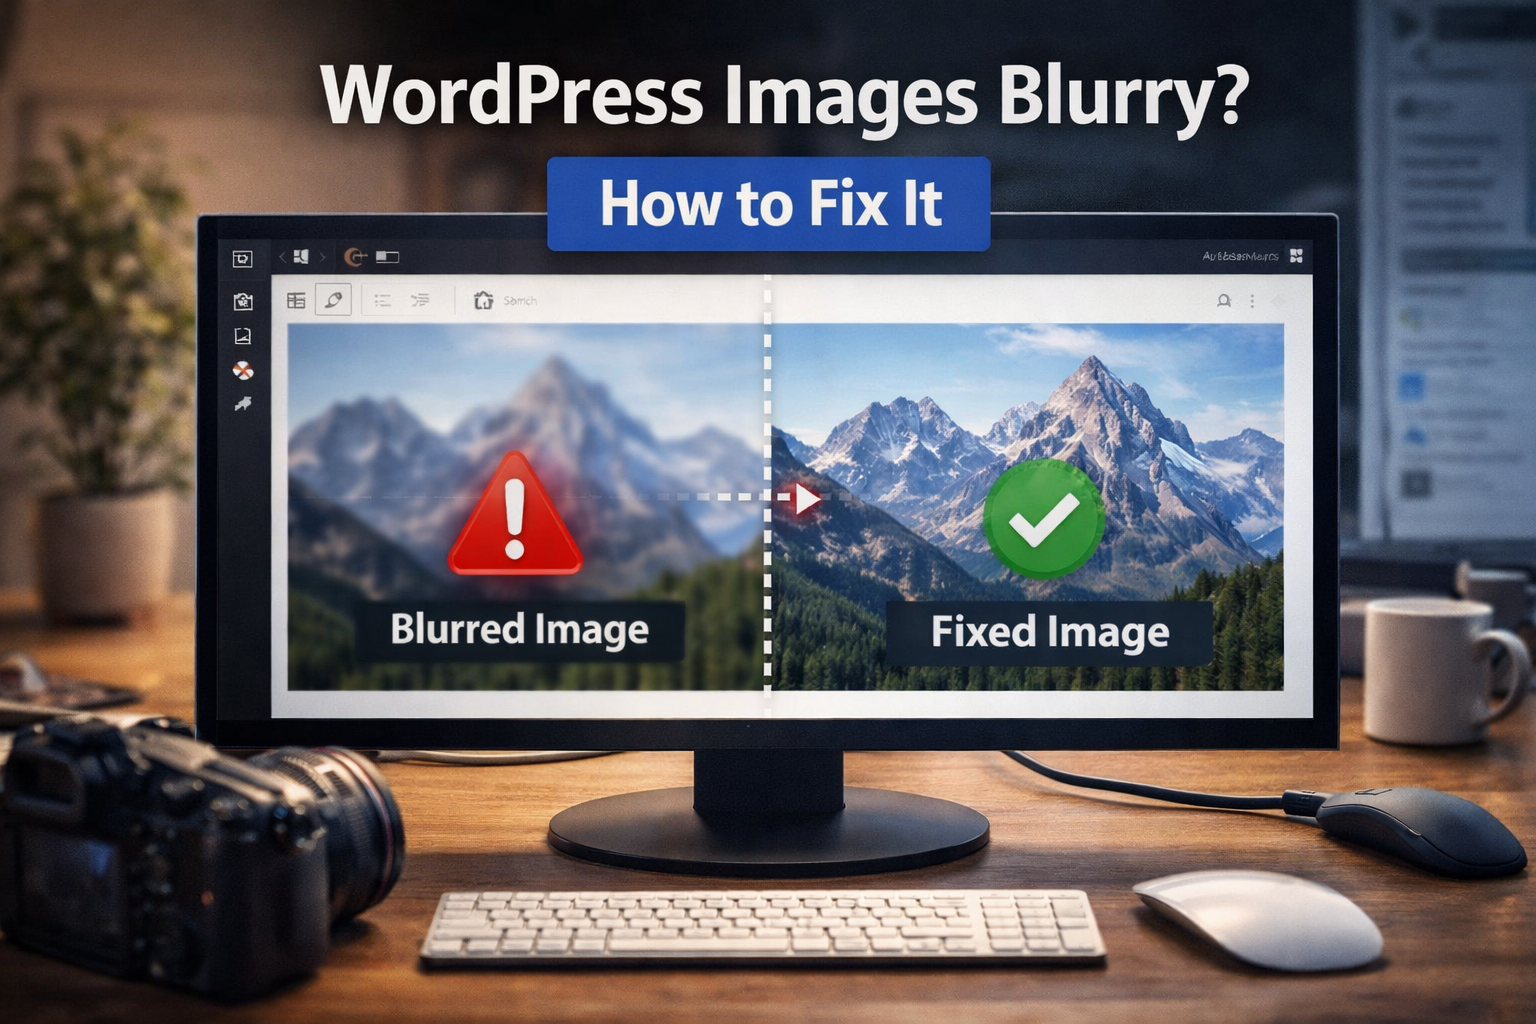
Why Do WordPress Images Become Blurry?
To understand the WordPress images blurry fix, imagine printing a small photo and stretching it to poster size. The picture becomes blurry because the resolution wasn’t large enough.
The same thing happens on websites.
When you upload an image, WordPress automatically creates several smaller versions such as:
- Thumbnail
- Medium
- Large
If your theme displays a small version on a large area of the page, the image becomes blurry.
According to WordPress documentation, the system automatically generates multiple image sizes to improve page performance and responsiveness.
Step 1: Upload Higher Resolution Images
One of the most common causes of blurry images is uploading pictures that are too small.
Example
If your blog header requires 1200px width but you upload an 800px image, WordPress stretches the image to fit — causing blur.
Best Practice
Upload images at least 20–30% larger than the display size.
Example:
| Website Image Area | Recommended Upload Size |
|---|---|
| Blog Featured Image | 1400–1800px width |
| Content Image | 900–1200px width |
| Full-width Banner | 2000px width |
This prevents WordPress from stretching smaller images.
🔎 Definition Box
Image Resolution:
The number of pixels in an image. Higher resolution images contain more detail and remain sharp when resized.
Step 2: Check WordPress Image Size Settings
WordPress automatically generates different image sizes when you upload images.
To check them:
- Go to WordPress Dashboard
- Click Settings
- Select Media
You will see default sizes for:
- Thumbnail
- Medium
- Large
If these values are too small, WordPress may display a resized version that looks blurry.
Adjust these sizes based on your theme layout.
Step 3: Use Correct Image Format
Choosing the wrong format can also cause quality loss.
Best Formats
| Format | Best Use |
|---|---|
| JPEG | Photos and complex images |
| PNG | Logos and graphics |
| WebP | Best compression with high quality |
Many modern WordPress sites now use WebP images because they maintain quality while reducing file size.
Google recommends WebP for improved performance and image quality in modern websites.
Step 4: Disable Over-Compression Plugins
Many WordPress optimization plugins compress images automatically.
While compression helps speed up websites, aggressive compression can cause blurry images.
Popular plugins that compress images:
- Smush
- ShortPixel
- Imagify
- EWWW Image Optimizer
Check plugin settings and reduce compression level if images appear soft.
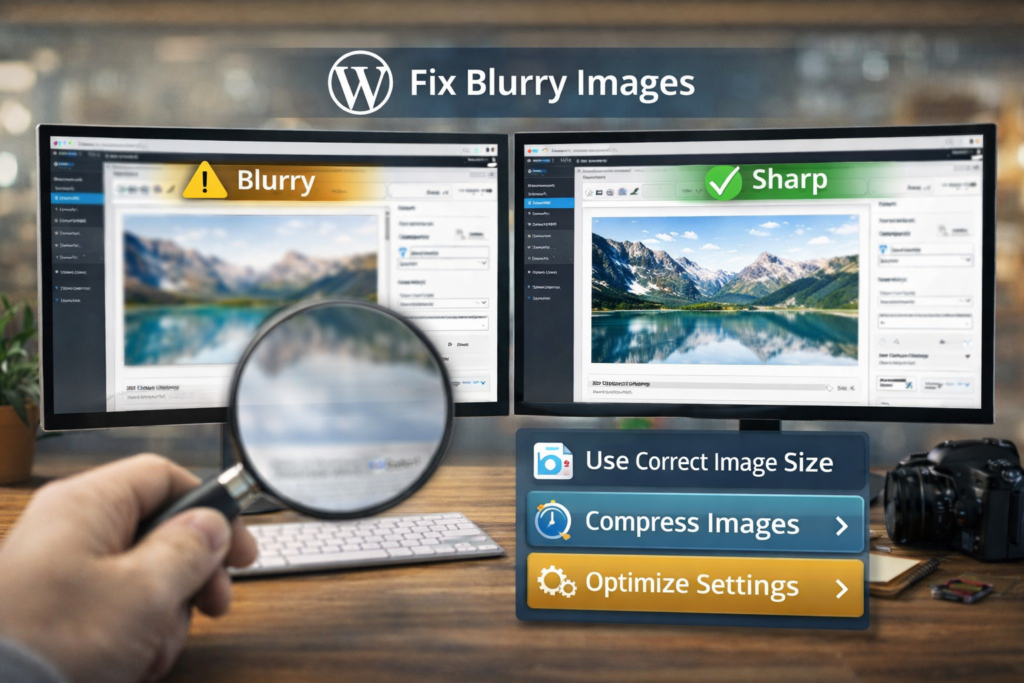
⚡ Quick Fix Box
If your WordPress images look blurry:
- Upload larger images
- Check Media Settings image sizes
- Disable aggressive compression
- Ensure theme uses correct image size
These steps solve most blurry image issues.
Step 5: Check Your WordPress Theme
Some themes automatically resize images using CSS.
This can force small images into large containers.
Example
Your theme may display a thumbnail image in a full-width section.
Result:
The image becomes stretched and blurry.
Solution:
- Use Full Size image when inserting content images.
- Ensure theme uses the correct featured image size.
Step 6: Regenerate WordPress Image Sizes
If you recently changed theme settings, WordPress may still be using old image sizes.
You can fix this by regenerating images.
Install plugin:
Regenerate Thumbnails
Steps:
- Install plugin
- Run regeneration
- WordPress recreates optimized sizes
This often resolves the WordPress images blurry fix problem immediately.
Step 7: Avoid Uploading Screenshots Directly
Screenshots often have low resolution.
Instead:
- Export images properly
- Resize them before uploading
Recommended tools:
- Canva
- Photoshop
- Affinity Photo
Preparing images before uploading prevents quality loss.
Step 8: Check Retina Display Scaling
Modern screens (MacBooks, iPhones, high-end monitors) use Retina displays.
These displays require higher-resolution images to appear sharp.
If your site targets high-resolution screens, upload images 2× the display size.
Example:
Display size: 800px
Upload size: 1600px
Real-World Example
A blogger uploads a 600px wide image for a featured post.
Their theme displays the image at 1200px width.
WordPress stretches the image, making it blurry.
Fix applied:
- Upload 1800px image
- Regenerate thumbnails
Result: crisp, sharp images across the site.
🛡️ Key Takeaway Box
Most blurry WordPress images happen because the image being displayed is smaller than the space it needs to fill.
Tips to Keep WordPress Images Sharp
Follow these simple rules:
✔ Upload images larger than display size
✔ Use correct format (JPEG, PNG, WebP)
✔ Avoid heavy compression
✔ Regenerate thumbnails after theme changes
✔ Optimize images before uploading
These steps prevent blurry images and improve SEO performance.
Frequently Asked Questions (FAQ)
1. Why do my images look blurry after uploading to WordPress?
Usually because WordPress resized the image or the uploaded resolution is too small.
2. What image size is best for WordPress?
For most blogs, images between 1200–2000px width provide good quality and performance.
3. Does image compression reduce quality?
Yes, especially when compression levels are high.
4. Should I upload images in WebP format?
Yes. WebP provides high quality with smaller file size and is supported by modern browsers.
5. Why do images look sharp in media library but blurry on the page?
Because the page may display a resized version instead of the full-resolution image.